Coil Spring Insulator: What It Does, Symptoms & Replacement
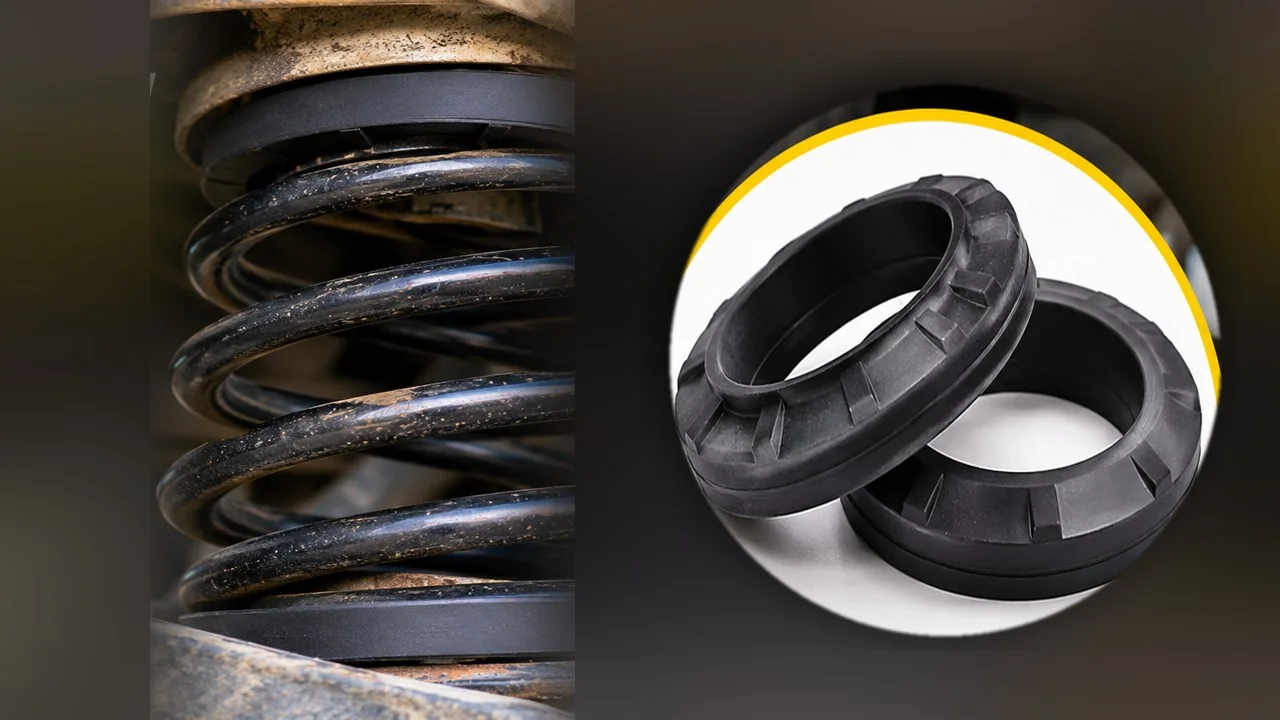
A coil spring insulator is the rubber or polyurethane pad between a vehicle’s coil spring and its metal spring seat. It cushions contact, helps position the end of the spring and reduces the creaking or grinding that can begin when metal rubs against metal. You may also see it sold as a coil spring isolator, spring pad, spring seat cushion or spring silencer. Those names can overlap, but the correct replacement still has to fit the exact location on your car.
If you are shopping for one, identify front or rear, upper or lower, and the exact vehicle application before choosing a part. A front strut pad and a rear coil-spring pad can look similar in a photo but have different grooves, locating tabs and thicknesses. If the spring is squeaking, check the pad and the metal seat together; a new piece of rubber cannot repair a broken spring or a rusted-out perch.
Which Coil Spring Insulator Do You Need? Check the Position First
A search result that simply says “coil spring insulator” is not enough to confirm fitment. Many cars use more than one shape across the four corners, and some spring seats have no separate replaceable pad. Start with the position shown in the vehicle-specific parts diagram, then compare the replacement with the original design.
This quick guide covers the common locations you will encounter in U.S. parts catalogs. It describes where the pad works, not a promise that every vehicle has an insulator in each position.
| Catalog position | Usual location | What to verify before buying |
|---|---|---|
| Front upper | Between the top of a strut-mounted spring and its upper seat or bearing-plate assembly | Seat profile, molded centering lip, strut application and whether the pad comes with the mount |
| Front lower | Between the bottom coil and the perch on the strut body or control arm | Spring-end pocket, locating stop, inside diameter and left/right application |
| Rear upper | Where a separate rear coil spring meets the body, frame or upper spring cup | Vehicle-specific pad shape, orientation, spring diameter and suspension variant |
| Rear lower | At the lower control arm, axle or lower spring seat | Correct indexing groove, thickness and nearby clearance |
| Coil-wrap sleeve / silencer | Around a designated portion of a spring coil, rather than beneath the entire spring end | Whether the OEM procedure specifies a sleeve and its exact location |
A listing may identify a part as “front upper” without saying which trim or suspension package it fits. Use a VIN-based or exact year/make/model/trim catalog when possible, including drivetrain and factory suspension options. Do not rely on color, approximate diameter or a generic “universal” claim.
Coil Spring Insulator vs. Isolator: Is There a Difference?
Usually not for the seat pad itself. Both terms commonly describe the cushion between the spring and its mounting surface. Spring seat insulator and coil spring isolator are useful alternate search terms when the first catalog returns nothing. The exception is a coil-wrap noise sleeve, which may be listed with the same words despite attaching to a different part of the spring. Match the part’s design and placement, not the search label.
Why “Looks About Right” Is a Poor Fitment Test
The last turn of a coil is not always circular or flat. Some springs end in a shaped pigtail; others sit against a stop at a particular clock position. The molded pad follows that shape. The wrong insulator can hold the spring slightly off its seat, let the end rotate or change the way load enters the perch. A pad that seems close on the workbench may squeak the moment the suspension starts moving.
What Does a Coil Spring Insulator Actually Do?
The spring supports vehicle weight; the shock absorber or strut controls motion. The insulator does neither job on its own. Its role is to make the contact between the spring and its seat quieter, more consistent and less abrasive. That relatively small job matters because the spring is heavily loaded and moves a little as the suspension compresses, rebounds or turns.
It Stops Direct Spring-to-Seat Contact
A steel coil sitting directly against a steel perch can transmit vibration and, depending on the design, scrape through paint at the contact point. The insulating pad provides a shaped interface. That can reduce noise and help preserve the coating on the spring and seat. It is not a substitute for correct spring indexing: the end coil still needs to sit exactly where the manufacturer specifies.
It Helps Keep Vibration Out of the Cabin
Small, high-frequency road inputs can travel through hard mounting points. A correctly designed rubber or elastomer pad attenuates some of that vibration. How much you notice depends on the car, tire, suspension and material. Replacing one cracked pad will not transform a worn-out suspension into a new one, but it can eliminate a very specific squeak that began after rubber deteriorated.
Can an Insulator Change Ride Height?
A standard replacement restores the original interface; it is not intended as a lift kit. A pad that has crushed or disappeared may allow a small change in spring seating, but a visibly low corner usually calls for a broader inspection of the spring and suspension. Some aftermarket products are intentionally thicker to alter height. Those are not interchangeable with an OE-spec isolation pad unless the application explicitly permits the change.
Where the Pads Sit on Different Suspension Designs
Knowing the suspension layout helps explain why a cheap-looking rubber ring can be awkward to replace. It also prevents a common mix-up: a spring insulator is not automatically part of the upper strut mount, even when both pieces sit inches apart.
MacPherson Strut: Upper and Lower Spring Seats
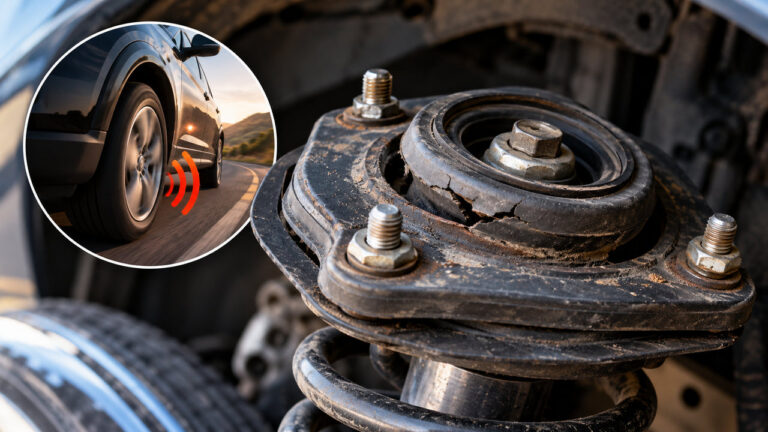
On a typical MacPherson strut, the coil surrounds the damper. The lower end rests on a perch attached to the strut assembly, while the upper end bears against a seat beneath the top mount. One or both positions may have molded isolators. The upper pad can be integrated with other service parts, so check whether the catalog sells it separately or as part of an assembly.
If steering produces a creak or pop from this area, inspect more than the pad. A sticking strut bearing can make the spring wind up and release as the wheels turn; a damaged upper mount can make a separate clunk. Our bad strut mount symptoms guide explains the difference without treating every front-end noise as an insulator failure.
Separate Rear Coils: Body Cup and Control-Arm Perch
Many rear suspensions carry the spring separately from the shock. The spring may sit between a stamped pocket in the body and a lower arm or axle seat. These upper and lower pads often have completely different profiles. A rear upper insulator cannot be moved to the lower perch just because it fits over the same coil diameter.
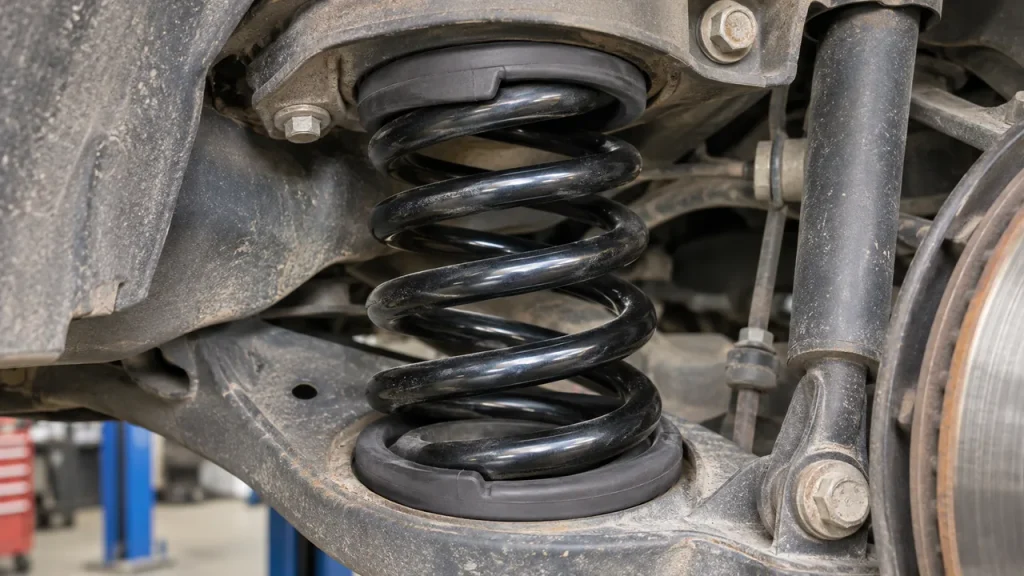
When a rear suspension starts creaking as someone gets out of the car, the small rise in body height can move the spring against a worn pad. That makes the rear seat worth inspecting, but it does not prove the pad is bad. Our guide to creaking when getting out of a car covers the other components that can react to the same change in load.
Coil-Sprung SUVs and Solid Axles
On some trucks and SUVs, a coil spring sits between the frame and a solid axle or its suspension brackets. The isolator may be a deep rubber cup, a relatively thick pad or a shaped liner. Its job remains spring isolation and location. It is not the same product as a load-assist spring, and a thick spacer marketed for a suspension lift must not be assumed to replace a missing factory insulator.
Bad Coil Spring Insulator Symptoms: What Is Worth Checking?
Noise is the usual starting clue. A deteriorated pad can allow spring-to-seat rubbing, especially when the suspension moves slowly enough for the contact to stick and release. But a squeak by itself is weak evidence. You want the noise pattern and physical signs to point to the same corner.
Creaking Over Speed Bumps, Driveways or at Low Speed
A dry creak or short squeak as the body rises and falls is consistent with friction at a spring seat. It may be more obvious leaving a driveway at an angle or crossing a low speed bump with one wheel before the other. Listen for whether the sound follows suspension movement rather than engine speed or wheel rotation. Control-arm bushings and sway bar bushings can produce almost identical noises.
Grinding, Scraped Paint and Rust at the Spring Seat
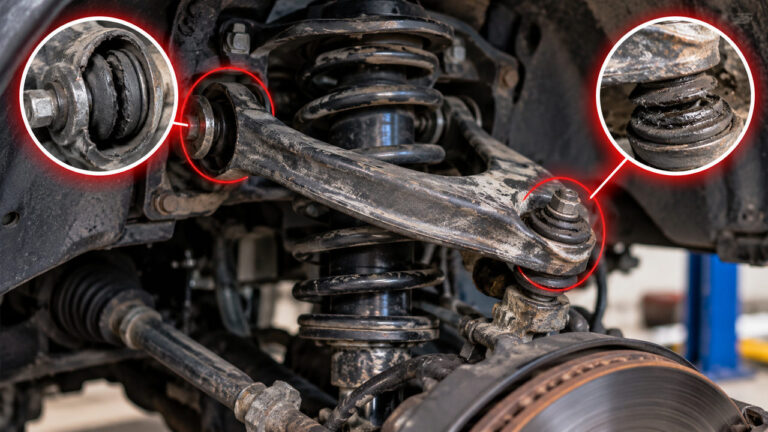
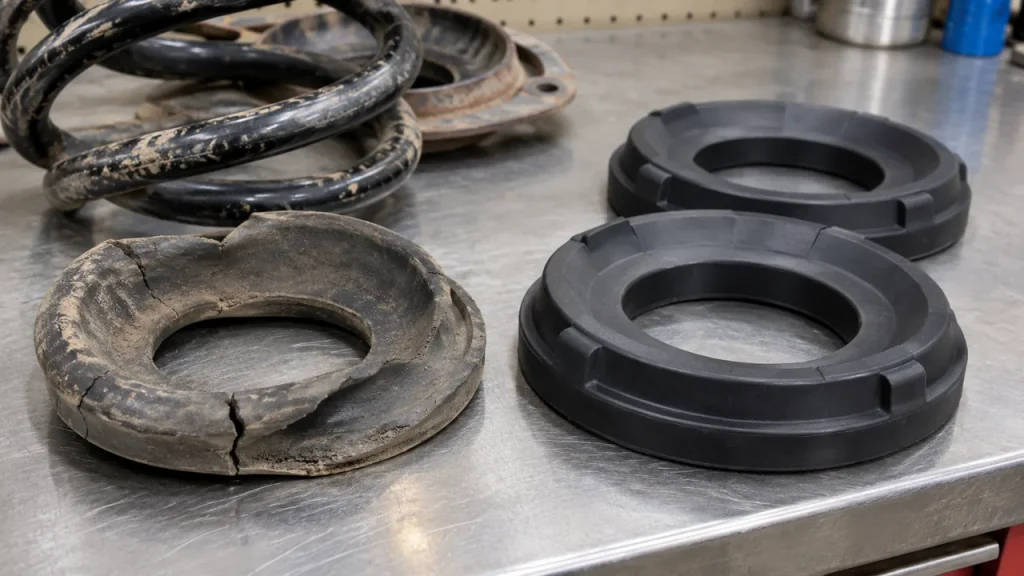
Physical evidence is more persuasive: missing chunks of rubber, a split pad, a displaced lip, polished contact marks or rust where the spring touches the perch. A spring end cutting into a damaged seat deserves prompt inspection. So does severe corrosion around the mounting point; replacing the rubber alone cannot restore steel that has lost structural strength.
Why Bouncing, Pulling or Uneven Tire Wear Is Not Proof
Some repair guides list rough ride, poor steering or tire wear as signs of bad insulators. Those changes are possible companions to a broader suspension problem, but are not reliable insulator-specific tests. Weak damping, a broken coil, damaged mounts, incorrect alignment and worn joints are much more direct explanations for many handling complaints. Do not order a pad because the car bounces twice after a bump.
Use the following clues to prioritize inspection, not to diagnose by sound alone.
| What you notice | Check at the spring seat | Other likely causes to rule out |
|---|---|---|
| Creak during slow suspension movement | Split or displaced pad; spring rubbing on perch | Dry control-arm bushing, sway bar bushing, strut mount |
| Pop or twang while steering | Spring indexing and upper seat contact | Binding upper strut bearing or top mount |
| Metal scraping or grinding near a corner | Exposed metal, damaged spring end, missing pad | Broken spring, brake shield contact, bearing-related fault |
| One corner lower than before | Crushed pad or incorrectly seated spring | Sagged or broken spring, wrong replacement parts |
| Rattle after strut or spring service | Correct insulator installed and properly aligned | Loose mount, incorrectly assembled spring seat or fastener |
If the noise is a heavy clunk, or you feel movement in the steering, broaden the diagnosis before changing spring-seat rubber. Our suspension clunks and rattles guide separates the common alternatives by when the sound occurs.
How to Inspect an Insulator Without Guessing at the Repair
You can collect useful evidence without dismantling a loaded spring. The goal of the first inspection is to identify the suspicious corner and determine whether the rubber pad, the spring or another nearby component needs a closer professional look.
Checks You Can Make With the Vehicle Safely Parked
On level ground, compare ride height and listen as the body settles after normal entry or exit. With good lighting, look into the accessible spring seats for rubber that is visibly split, missing or pushed out of position. A small inspection mirror can help with a hard-to-see rear upper cup, but keep your hands away from pinch points and do not crawl underneath an unsupported vehicle. A wheel-well photo is useful evidence to show a shop.
If a noise started after recent suspension work, tell the technician which components were removed and whether the symptom began immediately. A misplaced spring end or missing pad during reassembly can sound much like an aged insulator, and that history may save unnecessary parts replacement.
What the Technician Needs to Confirm
A proper inspection checks the spring’s end position, the pad’s seat and thickness, the integrity of the metal perch, and whether the part matches the exact suspension. If steering movement is involved, the upper bearing and mount need checking too. A technician may need to unload the spring or dismantle the strut using the manufacturer’s approved equipment; a visual inspection from outside cannot expose every hidden tear.
Why Spraying Lubricant Is Not a Permanent Fix
Silicone spray may briefly quiet a contact point, but a temporary change in noise does not prove that a cracked insulator is safe to reuse. It also does not establish whether the sound came from a nearby bushing or seat. Avoid oil- or solvent-based improvisation on rubber components, and never pack an incorrect spring seat with hose, washers or homemade spacers to silence it.
Rubber vs. Polyurethane Coil Spring Insulators
Parts searches often show standard rubber replacement pads alongside polyurethane versions. Neither material wins in every suspension. A quiet daily driver, a heavy SUV and a modified performance car can ask different things of the interface.
OE-Style Rubber for Original Suspension Behavior
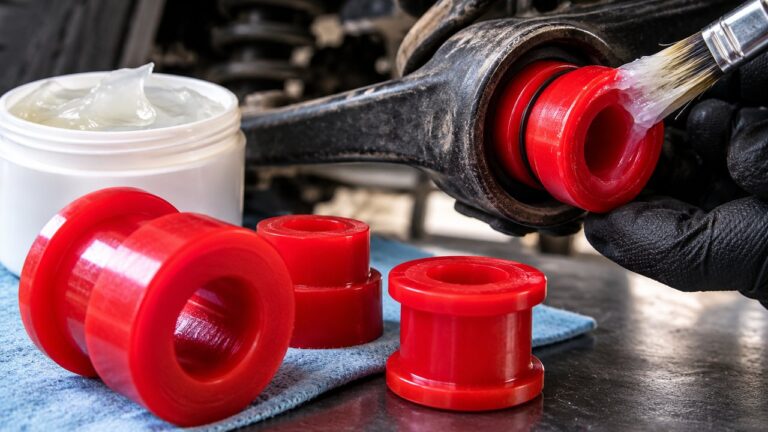
Rubber is commonly used because it can conform to the spring end while isolating noise and vibration. If the car still has its original spring and seat geometry, an OE-equivalent molded rubber pad is usually the straightforward choice. Focus on correct fit, durable construction and the spring-end locating detail rather than treating every black rubber ring as equivalent.
Polyurethane: Verify the Exact Application
Polyurethane products can be more resistant to some kinds of deformation or abrasion, depending on formulation and design, but a harder pad may transmit more vibration. The word “polyurethane” alone tells you very little about the specific part’s hardness, thickness or service life. Choose an engineered, application-approved insulator rather than cutting a generic sheet to fit the perch.
What About Microcellular Polyurethane and Special Compounds?
Some vehicle manufacturers use microcellular polyurethane or other elastomers for their spring isolators. Those materials can be tuned for load and isolation and may be supplied integrated with the upper mount or jounce-bumper assembly. That is another reason to follow the vehicle’s actual part specification rather than making material substitutions based on generic forum advice.
Spring Insulator, Spring Spacer and Coil-Wrap Sleeve Are Different Parts
Three products can appear in the same search results even though they solve different problems. Getting the name right helps avoid buying a part that changes suspension geometry when all you wanted was to stop a squeak.
Insulator Pad vs. Lift or Leveling Spacer
An original-style spring pad is there to isolate and locate the coil. A spring spacer is intentionally designed to alter the spring’s installed position or support height, within a particular approved kit. Both may resemble thick rubber or polyurethane rings. If the replacement is substantially thicker than the factory piece, investigate whether it is a spacer rather than an OE-style insulator; extra thickness can affect ride height and available travel.
Coil-Wrap Silencer vs. Full Spring Seat Pad
Some manufacturers specify a protective tube or molded sleeve on a short section of the coil to control contact noise. That part wraps the spring itself. A full seat pad, by contrast, lies between the coil end and its perch. They are not interchangeable; one may be used in addition to the other on a specific design.
Strut Mount Rubber Is Not the Same as the Spring Insulator
The upper strut mount secures the assembly to the body and may contain a bearing, while the spring insulator cushions the spring’s contact with its seat. They can be sold together, and the parts can touch, but diagnosing them as a single component is a mistake. A binding bearing will not be repaired just by replacing a lower spring pad.
How Coil Spring Insulators Are Replaced—and When to Combine the Job
Replacing the pad is usually simple in principle but not always simple in labor. The spring has to be safely unloaded, and a strut assembly may have to come apart to reach the insulator. A compressed coil spring stores dangerous energy; this is not a repair to attempt by removing the top shaft nut or using improvised clamps.
A qualified shop will typically work through the following high-level sequence, following the vehicle-specific service information rather than a universal shortcut.
- Confirm the fault and part number. Compare the suspected pad with the vehicle’s upper/lower parts diagram and inspect the spring and seat.
- Secure and unload the suspension. Use approved lifting, support and spring-control equipment for the particular suspension design.
- Access the spring seat. Remove or service the strut or separate spring using the manufacturer’s safe procedure; never release retained spring energy unexpectedly.
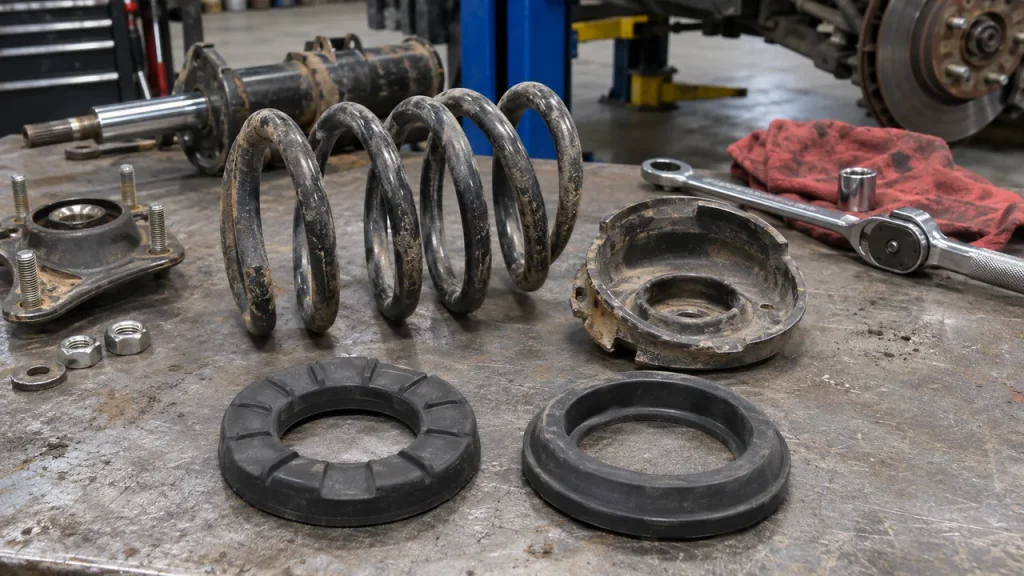
- Inspect the hardware underneath. Check the spring end, metal perch, upper mount and any corrosion or distortion before fitting the new pad.
- Install the correct insulator in its required orientation. Seat the end of the coil in the specified pocket or stop; reuse or renew hardware only as approved.
- Reassemble and verify. Follow torque and ride-height specifications, check for binding or noise, and assess whether wheel alignment is needed.
Front Struts Often Mean More Labor Than the Part Suggests
On a spring-over-strut assembly, the pad can be buried beneath the top mount or around the lower perch. The technician may need to remove the unit and control the spring before it can be accessed. On a rear suspension with a separate coil, access may be easier—or not, depending on the control-arm layout. The same inexpensive pad can therefore carry very different labor charges on two vehicles.
Replacing the Pads During a Coil Spring or Strut Job
If the spring is already out, the added labor to renew a worn insulator may be modest. This is why an itemized spring-replacement quote should mention the rubber pads, upper seats and relevant mounting hardware. Our coil spring replacement cost guide explains how the bigger spring job is priced; this article stays focused on deciding whether the isolator itself needs attention.
Does Replacing an Insulator Require Wheel Alignment?
Not automatically because the pad has been replaced. It depends on what else was loosened or removed, whether ride height changes, and whether the suspension design locates the wheel through the strut or control-arm attachments. If alignment-sensitive joints or mounts were disturbed, a post-repair check is sensible. Our alignment after suspension repairs guide covers the difference between checking angles and actually adjusting them.
What to Check on a Replacement Part Listing
A product page can promise less noise and a smoother ride, yet omit the one thing that decides whether the pad works: its match to the spring seat. Before ordering, make sure the seller or manufacturer can identify the exact component being supplied.
Keep this short checklist beside the parts diagram. It is especially useful if the listing uses “isolator,” “insulator,” “spring pad” and “silencer” interchangeably.
- Fitment: exact year, make, model, trim, drivetrain and suspension option; confirm VIN where needed.
- Position: front or rear, upper or lower; check whether the vehicle uses different left/right parts.
- Construction: molded rubber, polyurethane or manufacturer-specified material; do not substitute a thick lift spacer.
- Shape: spring-end groove, locating tab, centering lip and the way the part seats against the perch.
- Package contents: single pad, pair, complete upper mount kit or sleeve; do not assume two come in the box.
- Related wear: inspect the mating spring and perch so the new rubber is not immediately damaged by sharp rust or an incorrectly positioned coil.
A repair order should also state whether the quoted amount covers the pad alone or includes removing the spring, replacing other parts and checking alignment. Compare the scope, not just the total. This prevents a small-component purchase from turning into an unexpected second visit to the shop.
Common Coil Spring Insulator Questions
The last few questions tend to appear once you have the old part in view or are deciding whether to approve a mechanic’s recommendation.
Should I Replace Upper and Lower Insulators Together?
Only if both exist and their condition or the repair procedure justifies it. If the spring is already being removed, inspecting both positions is sensible; replacing aged or damaged pads while access is available can prevent repeated labor. It does not follow that every intact pad must be changed on every service.
Can I Drive With a Bad Coil Spring Insulator?
A minor squeak with no other symptoms may allow time to arrange an inspection, but you cannot establish safety from the sound alone. If a spring is displaced, broken, rubbing a tire, or sitting in a severely corroded seat—or handling and steering change suddenly—stop driving and arrange professional assistance. Those are not problems to postpone because the rubber part looks inexpensive.
Will a New Insulator Fix a Creaking Suspension?
It can if the noise is confirmed to come from the pad or spring-to-seat contact. It will not fix a failing upper bearing, loose mount, damaged ball joint or worn control-arm bushing. Ask the shop to show you the failed rubber and the contact marks rather than accepting a diagnosis based only on where the sound seems to come from.
Do Coil Spring Insulators Wear Out at a Set Mileage?
There is no dependable universal mileage interval. Age, heat, moisture, road salt, spring movement and material quality all affect the part. An original pad can last many years; one exposed to corrosion or a spring installed out of position may fail sooner. Condition and the vehicle’s service information are better guides than a fixed odometer number.
Is a Spring Insulator the Same as a Coilover Helper Spring?
No. A coil spring insulator is a cushion against a metal seat. A coilover helper spring is a separate, typically low-rate steel spring used in certain adjustable spring stacks to keep the main spring captured at droop. They are different components with different fitment questions.
Before Reassembling, Inspect the Metal Spring Seat
The failure that matters most may be hidden under the pad you are replacing. Look for a perch with rusted-through steel, a distorted locating stop, or a main spring whose last coil has broken or rubbed away its coating. Fresh rubber placed over damaged metal can conceal the evidence without correcting the cause.
For a straightforward repair, the target is simple: a vehicle-specific insulator seated in the right position, a sound spring and perch, and no unexpected movement or contact through the suspension’s intended travel. If any of those cannot be confirmed, the next step is a proper suspension inspection—not a thicker pad, a spray lubricant or another guess at the source of the noise.