How to Adjust Car Suspension for Different Road Conditions

To adjust a car suspension for different road conditions, begin with the manufacturer’s baseline and change only the settings your suspension actually provides. On adjustable shocks or coilovers, rough roads generally need more suspension compliance, while a smooth closed track may tolerate firmer damping and less body movement.
There is no universal number of clicks or ideal ride height for every car. Vehicle weight, suspension travel, tires, spring rates, damper design, road surface, speed, and manufacturer all affect the correct setting. Make one small change at a time, record it, and never use public-road driving to test the limits of the vehicle.

Can Your Car’s Suspension Be Adjusted?
Most factory suspensions have little or no manual adjustment beyond wheel alignment. If your car has conventional fixed shocks and springs, you cannot safely make the ride softer or firmer by turning an unidentified bolt.
Your suspension may be adjustable if it has one or more of the following:
- Shock or strut knobs marked for compression, rebound, soft, or firm
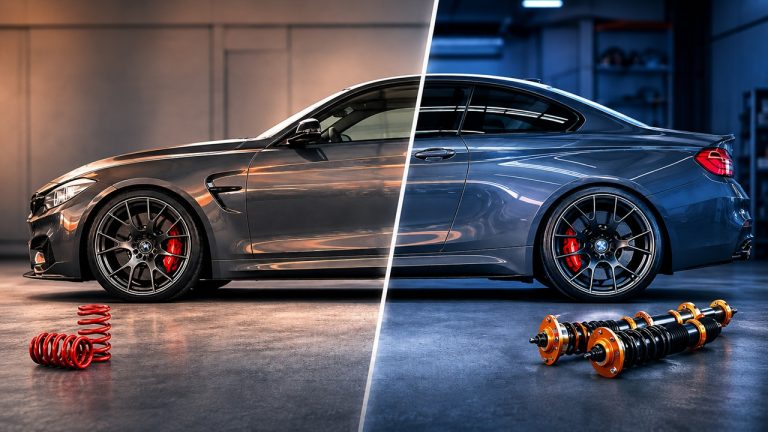
- Threaded coilover bodies or manufacturer-approved ride-height adjusters
- Adjustable spring perches or preload collars
- Electronic Comfort, Normal, Sport, Track, or Off-Road suspension modes
- Adjustable anti-roll bar mounting holes
- Aftermarket camber plates or adjustable suspension arms
Identify the exact suspension model and read its manual before touching an adjuster. Some single-adjustable dampers primarily alter rebound, while others change compression and rebound together. A knob’s direction and usable range are not universal.
Suspension Adjustments Explained
| Adjustment | What It Changes | Important Limitation |
|---|---|---|
| Compression damping | Controls how quickly the suspension compresses | Too much can create harshness and reduce grip over bumps |
| Rebound damping | Controls how quickly the suspension extends after compression | Too much can prevent recovery between repeated bumps |
| Ride height | Changes ground clearance and chassis position | Can alter alignment, travel, geometry, and corner weights |
| Spring preload | Changes initial spring compression and may affect ride height or sag | Does not normally change the spring’s actual rate |
| Spring rate | Changes force required to compress the spring | Usually requires replacing the spring |
| Camber and toe | Changes tire orientation and handling | Requires measurement; not a quick weather adjustment |
| Anti-roll bar position | Changes roll stiffness balance | Can alter understeer, oversteer, and independence over bumps |
Compression vs. Rebound Damping
Compression Damping
Compression damping controls the speed at which the shock shortens when the wheel moves upward or the body loads during braking, acceleration, and cornering.
- More compression damping: slows compression and can provide greater platform support, but too much makes the car harsh or skittish over bumps.
- Less compression damping: allows the wheel to move more easily, but too little may permit excessive body movement or bottoming.
“Low-speed” and “high-speed” damping refer to shock-shaft speed, not vehicle speed. Body roll, pitch, and gradual weight transfer usually involve lower shaft speeds. Sharp bumps and pothole impacts create higher shaft speeds.
Rebound Damping
Rebound damping controls how quickly the suspension extends after being compressed.
- More rebound damping: slows extension and can reduce repeated bouncing.
- Less rebound damping: lets the wheel return faster after a bump.
Excessive rebound can cause the suspension to “pack down” over a series of bumps. It does not return quickly enough before the next impact, progressively losing available travel and grip. Too little rebound can make the car float, bounce, or oscillate.
For more background without duplicating this setup guide, read what damping does in suspension.
Before Making Any Adjustment
- Inspect the vehicle. Do not tune around worn bushings, leaking shocks, loose joints, broken springs, damaged tires, or alignment faults.
- Set tire pressures correctly. For normal road use, begin with the vehicle manufacturer’s cold-pressure recommendation—not the maximum molded on the tire sidewall.
- Confirm ride height and alignment. Both must be within the suspension manufacturer’s permitted range.
- Find the recommended baseline. Use the manual for your exact shock, coilover, or electronic suspension.
- Record every setting. Write down front and rear compression, rebound, ride height, tire pressures, alignment, load, and road conditions.
- Check adjuster direction. Never assume clockwise means firmer without consulting the manual.
- Count gently. If the manufacturer instructs you to count clicks from fully closed, turn the adjuster gently and never force it against its stop.
QA1 and Penske both recommend a controlled, repeatable tuning process rather than random large changes. Penske explains that compression and rebound control different phases of shock movement, so identifying the actual symptom matters before adjusting either one.
Recommended Starting Direction by Road Condition
The table below gives safe tuning directions, not universal click settings. Always remain within the suspension manufacturer’s range.
| Use or Surface | Starting Direction | Avoid |
|---|---|---|
| Normal street driving | Manufacturer’s street baseline with balanced compliance | Track settings, extreme lowering, or maximum firmness |
| Rough or broken pavement | Preserve travel; reduce excessive compression or rebound in small steps if harsh or packing | Assuming every bump requires fully soft settings |
| Smooth closed track | Incrementally increase platform control based on measured behavior | Large changes without lap data or tire-temperature evidence |
| Wet or low-grip conditions | Use a predictable, compliant baseline and suitable tires | Raising the car to prevent hydroplaning or changing camber by guesswork |
| Gravel or washboard | Allow wheel movement and enough rebound recovery between bumps | Excessive rebound that packs the suspension down |
| Low-speed off-road terrain | Use approved ride-height or off-road modes and preserve articulation | Maximum height or fully soft damping without checking travel limits |
| Heavy load or towing | Use manufacturer-approved load settings, springs, or leveling equipment | Using damper firmness to compensate for overloaded springs |
How to Adjust Suspension for Normal Street Driving
For public roads, the best setup is normally the suspension manufacturer’s street baseline. It should provide enough body control for steering and braking while retaining sufficient travel to absorb potholes, joints, and uneven pavement.
- Return all damper adjusters to the documented street baseline.
- Use a legal ride height that preserves bump and droop travel.
- Set wheel alignment for predictable tire wear and stability.
- Drive a familiar route at legal speeds and note one specific symptom at a time.
- Change only one parameter by one or two clicks, unless the manufacturer specifies another increment.
Do not lower the car simply because the road is smooth or the journey includes a highway. Lowering can reduce available travel and create poor geometry even if it lowers the center of gravity.
How to Adjust Suspension for Rough or Bumpy Roads
On broken pavement, the tires need to follow the surface rather than skip across it. The goal is controlled compliance, not maximum softness.
If the Car Feels Harsh Over Individual Bumps
If tire pressure and suspension travel are correct, reduce compression damping by a small amount. Test again on the same section. If the suspension begins to bottom or the body moves excessively, return toward the previous setting.
If It Gets Progressively Harsher Over Repeated Bumps
The suspension may be packing down because rebound damping is too high. Reduce rebound in small increments so the wheel can recover before the next bump.
If the Car Continues Bouncing After a Bump
Rebound may be too low, or the dampers may be worn. Increase rebound slightly and test again. If the car does not respond consistently to adjustment, inspect the shocks rather than continuing to turn the adjusters.
Raising ride height is appropriate only when the suspension was designed for height adjustment and lacks sufficient ground clearance or travel. Any meaningful height change may require alignment and corner-weight verification.
How to Adjust Suspension for a Smooth Track
Track tuning should be performed only in a controlled motorsport environment. A smooth circuit may allow firmer platform control than a public road, but “as stiff as possible” is rarely the fastest setting.
- Begin with the manufacturer’s track or performance baseline.
- Warm the tires consistently and record pressures.
- Identify where the problem occurs: braking, turn-in, mid-corner, exit, curb, or straight-line bump.
- Adjust one axle and one damping phase at a time.
- Compare lap time, tire temperatures, driver feedback, and vehicle behavior.
- Reverse changes that reduce grip or consistency.
More low-speed compression can slow body pitch or roll, but too much can reduce mechanical grip. More rebound may control extension, but excessive rebound can lift load away from a tire or prevent recovery over curbs.
How to Adjust Suspension for Wet or Slippery Roads
Suspension settings do not prevent hydroplaning. Hydroplaning risk depends mainly on water depth, tire tread, tire pressure, vehicle speed, and tire condition—not the distance between the vehicle body and the road.
For wet track or low-grip conditions, a more compliant and predictable setup may help the tires follow the surface. If you are starting from an aggressive dry-track setup, reduce damping only in small, documented increments and use the damper manufacturer’s wet recommendations when available.
- Use tires appropriate for the conditions.
- Reduce speed and make smooth steering, braking, and throttle inputs.
- Do not raise ride height merely because the road is wet.
- Do not change camber or toe without alignment measurements.
- Do not use an extremely soft setup that permits uncontrolled body movement.
How to Adjust Suspension for Gravel and Washboard Roads
Gravel and washboard surfaces require the wheels to recover rapidly across repeated small impacts. Excessive compression can make the tires skate across the surface, while excessive rebound can progressively compress the suspension until little travel remains.
- Start from the manufacturer’s gravel, rally, or rough-road baseline if one exists.
- Check that the vehicle has adequate bump and droop travel.
- If it skips harshly over the surface, reduce compression in small steps.
- If it packs down through repeated bumps, reduce rebound incrementally.
- If it floats or continues oscillating, add rebound gradually.
Test only in an appropriate controlled area. Gravel handling is also highly dependent on tire construction, pressure, tread, vehicle stability systems, differential settings, and speed.
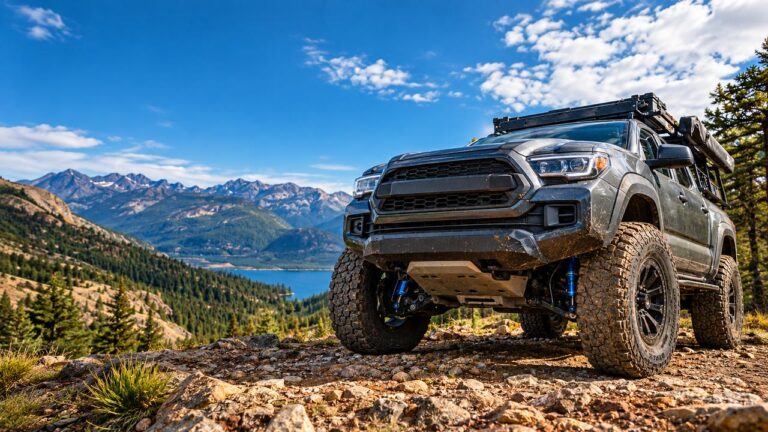
How to Adjust Suspension for Off-Road Driving
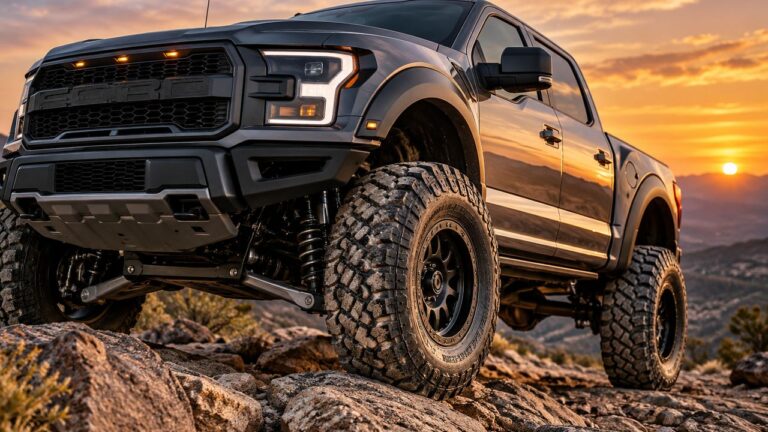
Off-road settings depend heavily on whether the vehicle is rock crawling, traveling over sand, driving slowly through ruts, or crossing bumps at speed. One “off-road” setup cannot be ideal for every situation. If you are choosing a vehicle or base layout rather than tuning an existing system, compare the different off-road suspension architectures before changing settings.
- Ride height: use only approved settings that maintain safe control-arm, driveshaft, brake-line, and joint angles.
- Compression: enough to resist bottoming, but not so much that the wheel cannot move over an obstacle.
- Rebound: enough to control extension without preventing the wheel from returning between obstacles.
- Spring rate: chosen for vehicle mass, carried load, motion ratio, and suspension travel—not simply made stiff because the terrain is rough.
- Anti-roll bars: disconnect or adjust them only when the vehicle manufacturer or approved system specifically permits it.
Maximum ride height is not always the best operating height. At full extension, a vehicle may have reduced droop travel, altered steering geometry, higher rollover risk, or speed restrictions.
Ride Height, Preload, and Spring Rate Are Not the Same
A common mistake is treating the coilover collars as interchangeable controls.
- Ride height describes the vehicle’s position relative to the ground.
- Preload is the initial compression applied to a spring in the suspension assembly.
- Spring rate is the force required to compress the spring by a given distance.
Adding preload to a conventional linear spring does not make its rate higher. Depending on the coilover design, changing a collar may alter preload, ride height, available droop, or more than one of these. Follow the exact installation manual.
Should You Change Camber and Toe for Different Roads?
Not for ordinary day-to-day road changes. Camber and toe are precision alignment settings, not roadside comfort controls. Changing them can affect tire temperature, braking stability, steering response, and tire wear.
A dedicated track car may use a different measured alignment for a particular circuit or tire, but returning to public roads usually requires a suitable street alignment. Any ride-height change should also be followed by an alignment check because it can alter camber and toe.
A Safe, Repeatable Tuning Method
- Establish the baseline: record all settings exactly as specified by the manufacturer.
- Define one symptom: for example, harsh over sharp bumps or bouncing after a crest.
- Choose one relevant adjustment: do not change compression, rebound, height, alignment, and tire pressure together.
- Make a small change: usually one or two clicks unless the manual says otherwise.
- Repeat the same test: use the same load, tire pressures, surface, speed, and route or track section.
- Record the result: note whether the specific symptom improved or worsened.
- Return if necessary: if the behavior becomes worse or inconsistent, restore the previous setting.
QA1’s compression and rebound guide also emphasizes understanding which phase of shock movement an adjuster controls before tuning it.
Troubleshooting Adjustment Symptoms
| Symptom | Possible Setup Cause | First Action |
|---|---|---|
| Sharp impacts feel excessively harsh | Too much compression, insufficient travel, tire pressure, or bottoming | Inspect travel and pressure; reduce compression slightly if appropriate |
| Car keeps bouncing after a bump | Too little rebound or worn damper | Add a small amount of rebound and retest |
| Ride gets lower and harsher through repeated bumps | Excessive rebound causing pack-down | Reduce rebound gradually |
| Excessive body roll or pitch | Insufficient low-speed damping, spring support, or roll stiffness | Verify springs and add small damping increments |
| Tires skip over rough pavement | Too much damping or insufficient suspension travel | Return toward baseline and inspect travel |
| Frequent bottoming | Too little compression, inadequate spring rate, low ride height, or excessive load | Identify the cause before adding damping |
| Uneven tire wear after lowering | Alignment changed with ride height | Inspect components and obtain an alignment |
When to Stop Adjusting
Stop testing and have the suspension inspected if:
- An adjuster is seized, damaged, leaking, or does not click consistently
- The vehicle reacts differently to the same setting on repeated tests
- A shock, strut, spring, mount, bushing, or joint shows damage
- A tire rubs or the suspension reaches a bump stop frequently
- The steering wheel is no longer centered after a height change
- The car pulls, wanders, hops under braking, or feels unstable
- You cannot identify the suspension or obtain its instructions
Frequently Asked Questions
Should suspension be softer for bumpy roads?
It often needs more compliance, but fully soft is not automatically correct. Too little damping can create uncontrolled bouncing or bottoming. Begin at the recommended baseline and adjust according to a specific symptom.
Should suspension be stiffer for smooth roads?
A smooth closed track may allow firmer platform control, but a normal smooth road does not justify maximum damping. Public-road settings must retain grip and travel for unexpected potholes, joints, and emergency maneuvers.
Does raising suspension improve wet-road traction?
No. Raising the vehicle does not prevent hydroplaning. Tire condition, tread depth, inflation pressure, water depth, and speed are far more important.
Can I adjust spring stiffness with a coilover collar?
Not normally with a linear spring. A collar usually changes preload, spring-seat position, or ride height depending on the coilover design. Changing the actual spring rate generally requires a different spring.
How many clicks should I change at once?
Use the suspension manufacturer’s recommendation. One or two clicks is a sensible diagnostic increment on many dampers, but adjuster sensitivity varies and there is no universal rule.
Do I need an alignment after changing ride height?
Usually, yes. Ride-height changes can alter camber, toe, suspension geometry, and steering-wheel position. Check our guide on alignment after suspension work.
Start From Baseline, Not From Guesswork
The safest suspension setup is a documented baseline followed by small, repeatable changes. Rough roads generally reward controlled compliance; a smooth track may tolerate firmer damping; and wet conditions demand suitable tires, lower speed, and predictable behavior rather than improvised ride-height or alignment changes. If the car does not respond consistently, inspect the suspension instead of continuing to adjust it.